
Splatoon 3 has a variety of sub-weapons, such as bombs and sprinklers, and each has a different use.
In this article, I will introduce my experience of reaching S+50 in the early seasons.Personal opinionSo, I'm creating a ranking of recommended subs.
Please use this as a reference when choosing weapons to use in bankara matches, etc.
Can be used on SwitchHORI controllerThere is also an article summarizing this, so please take a look if you are interested.

Sub-recommended rankings (as of March 2023)
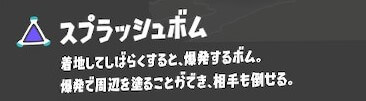
This is the simplest bomb in Splatoon's subs. It's simple and ordinary, which is why it's so strong.
If used at an offensive time, it can knock the enemy back, and since the time between hitting the ground and exploding isn't that long, it's easy to aim for a kill, making it easier to create opportunities to advance the count.
There are also techniques such as rolling the enemy over a step and causing them to explode underneath, so I think this is a sub that becomes stronger the more you get used to using it.
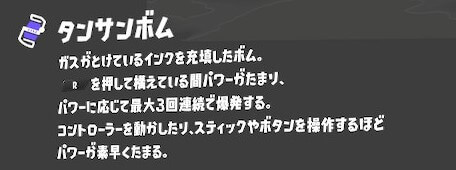
Its main feature is that it can explode three times in a row.
Although it does require charging to produce three explosions, it doesn't take long to fully charge, and you can shorten the charging time by moving the joystick, etc.
Compared to other bombs, it paints more deeply and is more effective at stopping enemies, making it easier to get kills.
Even if you can't get a kill with the Dansan Bomb alone, if you can stop the enemy's feet, you can follow up with your main weapon and get the kill.

The unique feature of a Quickbomb is that it explodes the moment it hits a wall or the ground.
The damage dealt to enemies will be a maximum of 60 damage, and even a direct hit will not kill them in one hit.
However, you can also use the Quick Bomb to follow up after a direct hit, or when you are unable to take down the enemy with your main attack and they seem to be escaping.
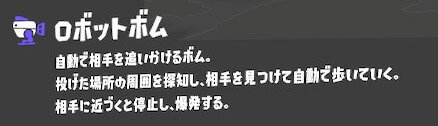
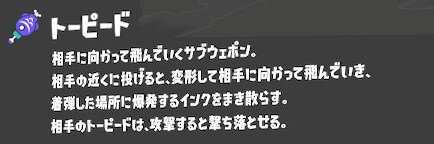
If there is an enemy within a certain range around the point where you throw it, it will automatically chase that enemy.
You can search for enemies just by throwing it randomly, so you can throw it to places where you think the enemy might be hiding and use it to search for enemies.
By throwing it at an area where long-range weapons are aimed, you can create an opportunity to advance the front line.
The time it takes from searching to exploding is a bit long, so the fact that it's easy to avoid is probably a negative point.
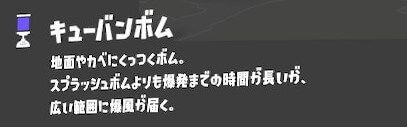
A distinctive feature of this bomb is that it sticks to walls and the ground.
When it explodes, it paints a large area, so the range of the kill is also wider. Like other bombs, it can be used to push the front line forward.
In Gachi Yagura, you can stick to the top of the tower, which is also effective when you want to get enemies off the tower.
Its weakness is that it takes a long time to explode after impact. Although it inks a lot of ground, it is easy to avoid.
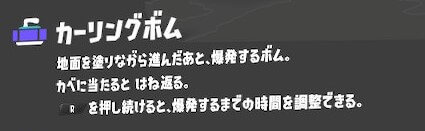
Its special feature is that it explodes after traveling a certain distance in a straight line.
The basic use of this bomb is to make a path ahead of you and then use that path to close the distance between you and the enemy.
However, when facing intermediate or advanced players, the path made by the curling bomb is guarded against and quickly repainted, making it difficult to handle.
It is a bomb with similar performance to the Robot Bomb.
It's great that it will track down enemies in the vicinity of where you throw it, but its big disadvantage is that it won't explode if the enemy is shot down before it hits the ground.
If it explodes, it can paint a decent area.
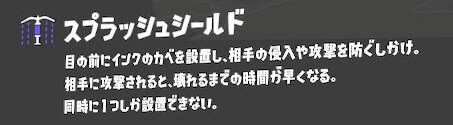
This is a rare defensive item in this game.
It will protect you from attacks coming from the direction you place it in for a certain period of time.
If used well, it can create a situation where you can target the enemy unilaterally.
However, I find it simply difficult to handle.
Also, if an enemy bomb hits the shield, it will explode at that moment, and the downside is that if your character's body is even slightly outside the shield, you will be killed by the explosion.
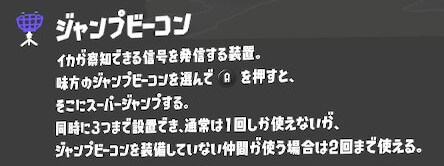
This is a sub that cannot deal damage, but can super jump to placed Jump Beacons.
I think the most common situation to use a super jump is when you want to maintain the front line, but it's dangerous to jump to your ally's position.
If you can maintain the front line, there is a high chance that the count will advance, so this is a sub that is annoying to the enemy.
The downside is that it shows up on the enemy's map, so it is easily destroyed even if it is placed.
It's a sub that's nice to have, but it's also a sub that you don't need, so I ranked it this way.
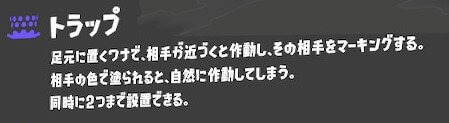
As the name suggests, up to two traps can be placed at the same time, and when an enemy steps on one, it will explode, painting a certain area and dealing up to 45 damage to the enemy.
It can also mark enemies, helping your allies.
However, it activates just by touching enemy ink, so it's not very effective against enemies who paint back the ink properly.
Since he is a sub who is effective in defensive situations, he is rated low considering that he is difficult to use offensively.
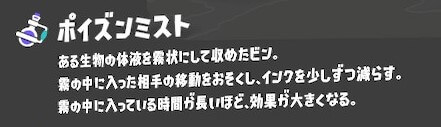
Enemies within a certain range around the point of impact will continue to suffer the effects of slowing their movement speed and reducing their ink intake.
It can be used offensively or defensively, but it doesn't deal any damage and only has a harassing effect, so I personally don't think it's very strong, which is why I ranked it this low.
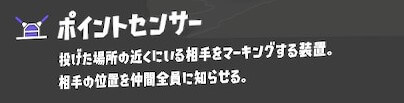
Enemies within a certain range around the point of impact are marked.
Compared to traps with the same marking effect, its weak point is that it does no damage.
This sub cannot kill on its own, so it gives the impression of being dependent on allies.
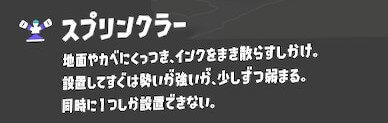
It scatters ink around the area where it is placed for a certain period of time.
The ink used will also accumulate painting points, so you can think of it as a sub for accumulating specials.
If the scattered ink hits an enemy directly, it will deal damage, but it is rare, so don't expect it to happen.
It also has low durability and is easily destroyed.
The 12th place Point Sensor can support allies, but it can't do much of that support, and if you want to accumulate specials you can just paint normally with your main, so to be honest I don't think it's an unnecessary sub.

You can create a line that bounces off walls and the ground in the desired direction, and if an enemy touches it, it will mark them.
Also, if you hit an enemy directly, it will deal 35 damage.
Marking isn't weak, but enemies are reluctant to touch you, so marking is difficult in the first place, and traps and point sensors are far easier to use.
Although the range is long for a direct hit, it is difficult to hit, so throwing a bomb is much more effective.
It was said to be weak from the beginning, and although it has been strengthened, I still think it is the weakest.
lastly
Please note that this ranking is based on my personal opinion.
I feel like the ranking of things like jump beacons and shields varies from person to person.
Since everyone has different standards for strength, please use this ranking as a reference only when choosing weapons, etc.
comment